
How to: Put on Snow Chains and Drive Safely
If you travel to the mountains or snowy areas regularly, sooner or later you’re going to have to use tire chains. Start by getting the right set for your vehicle at your local Les Schwab.
Quick-fit chains are not your grandpa’s tire chains. They are MUCH simpler to put on and take off. Here are a video, step-by-step instructions, and driving safety tips for installing quick-fit tire chains on your vehicle.
Do These Two Things Before You Leave
When you need chains, driving conditions are nasty. Snow is coming down, passing traffic is spraying slush, dirty water is dripping off your wheel wells, the road is slick, and it may be dark. Don’t make this the first time you put on your chains.
Practice installing your new chains once BEFORE you travel. Take advantage of a dry garage or driveway to make sure your winter tire chains are the right size and you’re comfortable putting them on. If needed, the professionals at Les Schwab Tire Centers can help.
Put together a simple winter road trip safety kit with warm gloves, waterproof layers, and other items to make your winter driving more safe and comfortable. In the winter, always carry this emergency kit and tire chains in your vehicle.
When and How to Install Your Tire Chains
Once you’re comfortable installing your chains, you’re ready to hit the snow.
Be Safe. If you’re on the road, pull off as far as possible onto a safe shoulder. Flip on your hazard lights. Put on your waterproof layers, hat, headlamp, and gloves from your winter road trip kit.
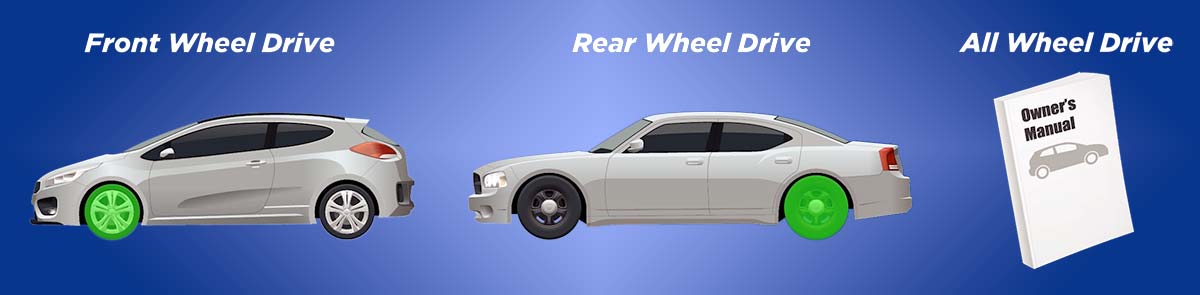
Identify the Correct Tires. If your vehicle is front-wheel drive, the chains go on the front. If it’s rear-wheel drive, chains go on the back. If it’s all-wheel drive, please check your owner’s manual. If you’re not sure, you can ask the experts at Les Schwab for help.
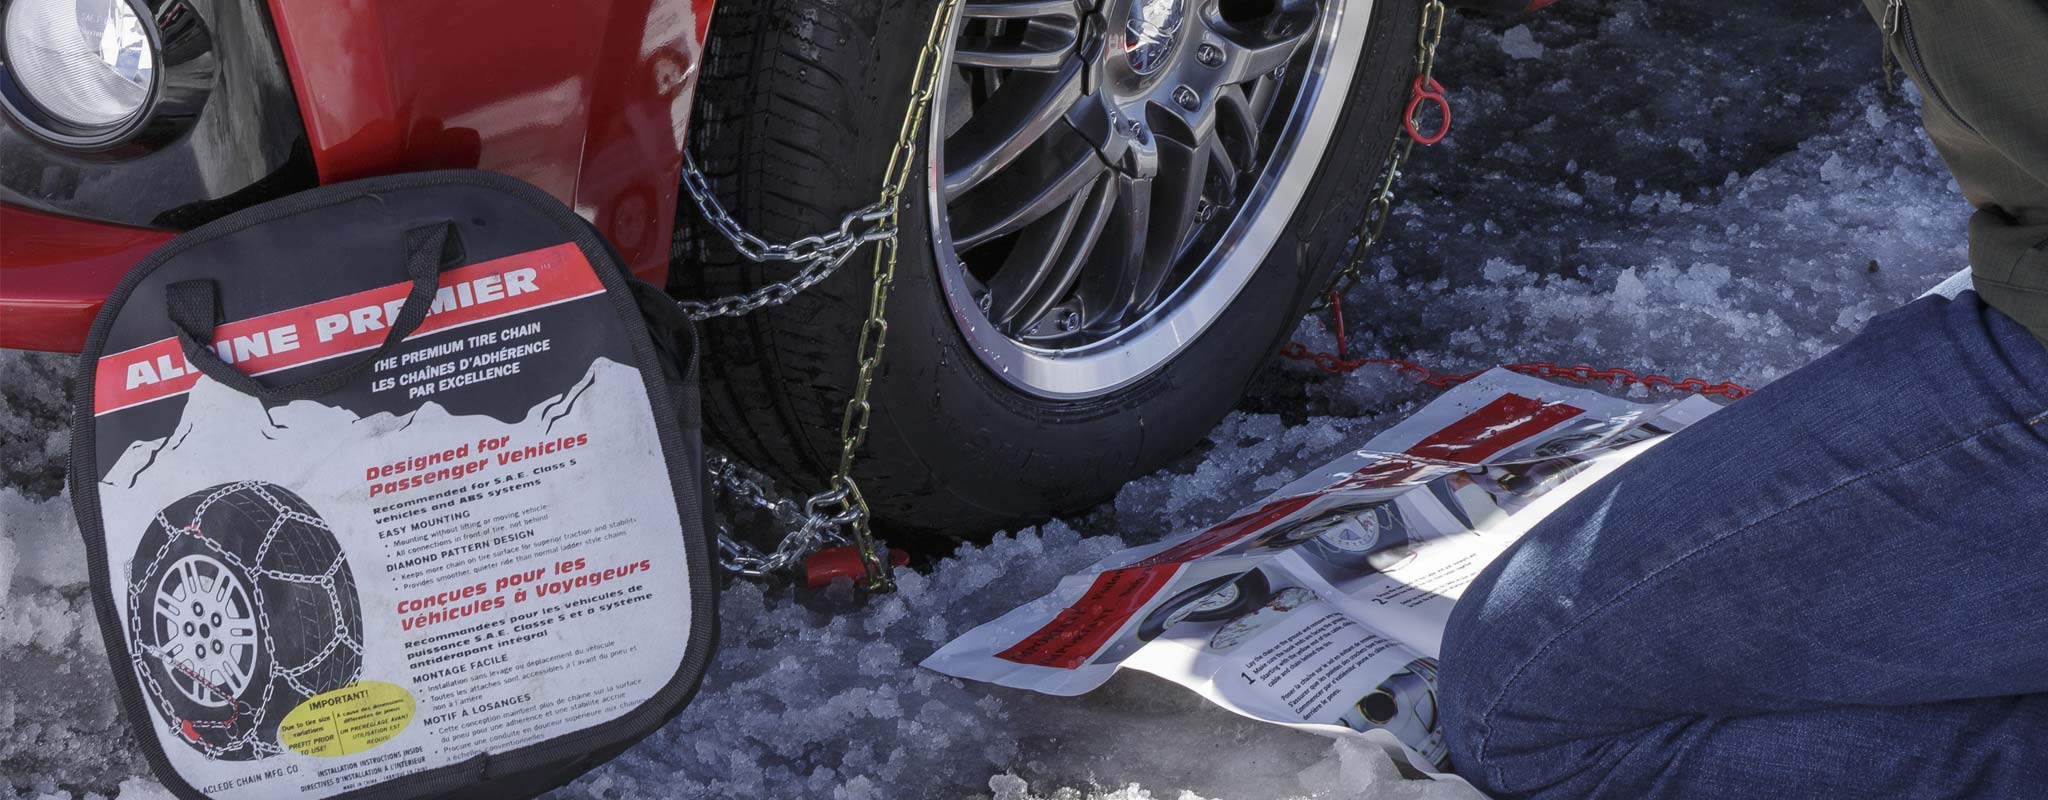
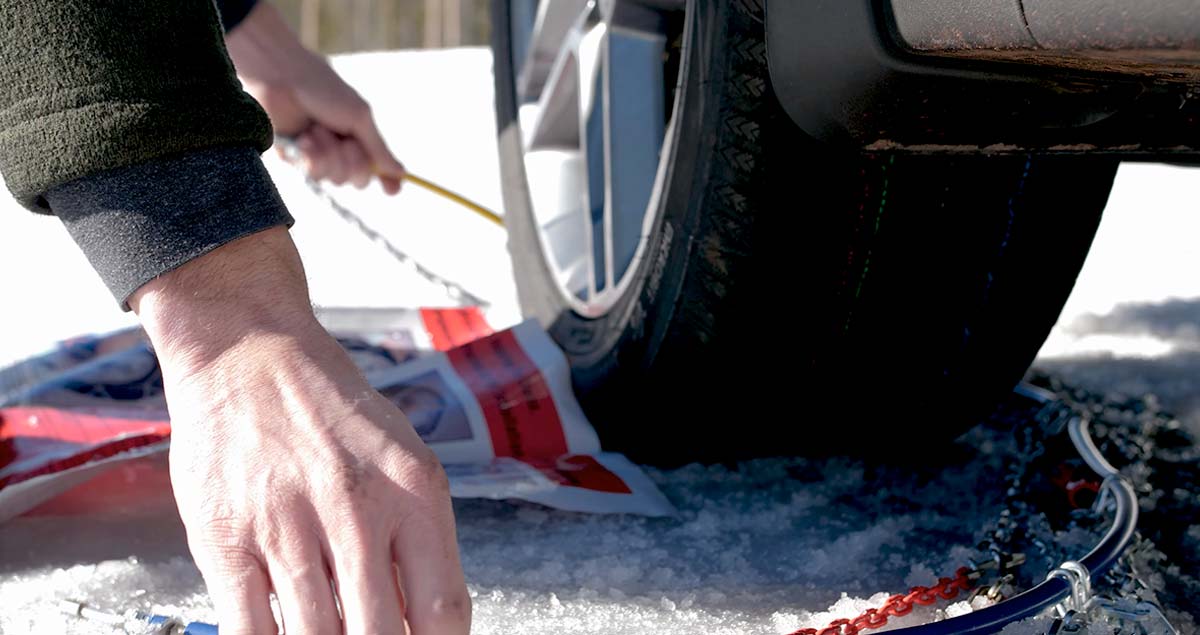
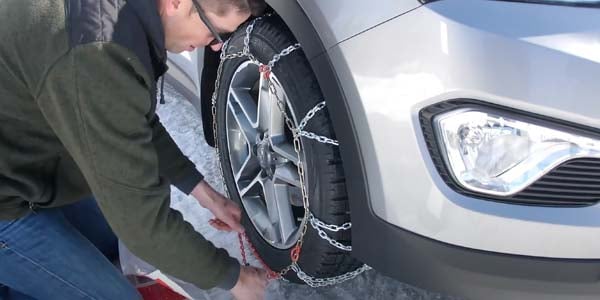
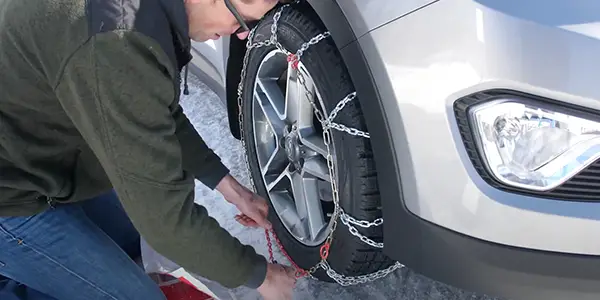
Pull Out Chains & Instructions. With your vehicle parked, open the bag and pull out your instructions and your first chain. Each bag comes with two chains. The plastic instruction mat that comes with your chains can be used as a barrier between you and the snow to keep you dry.

Untangle Your Chains. Holding them from the plastic-covered cable, make sure everything is straight and the chains are not looped over one another. Hold up your chains so the yellow end is in your left hand and the blue end is in your right.
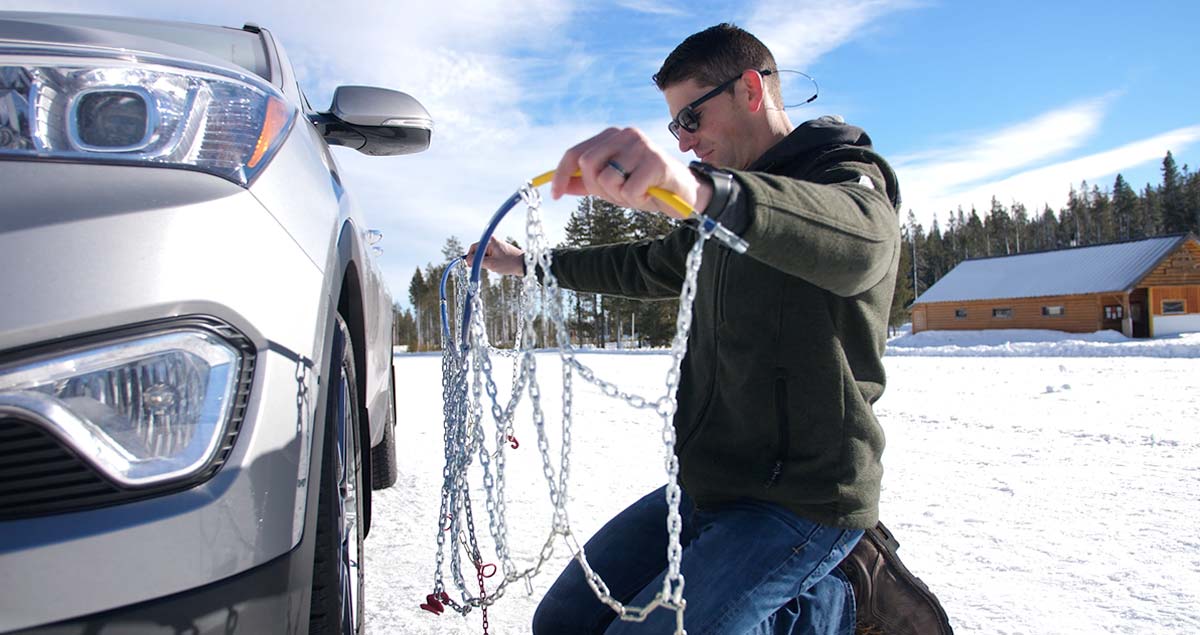
The chains should hang loosely and the metal hooks seen along the yellow and blue sections should be facing away from you so they don’t damage your tires.
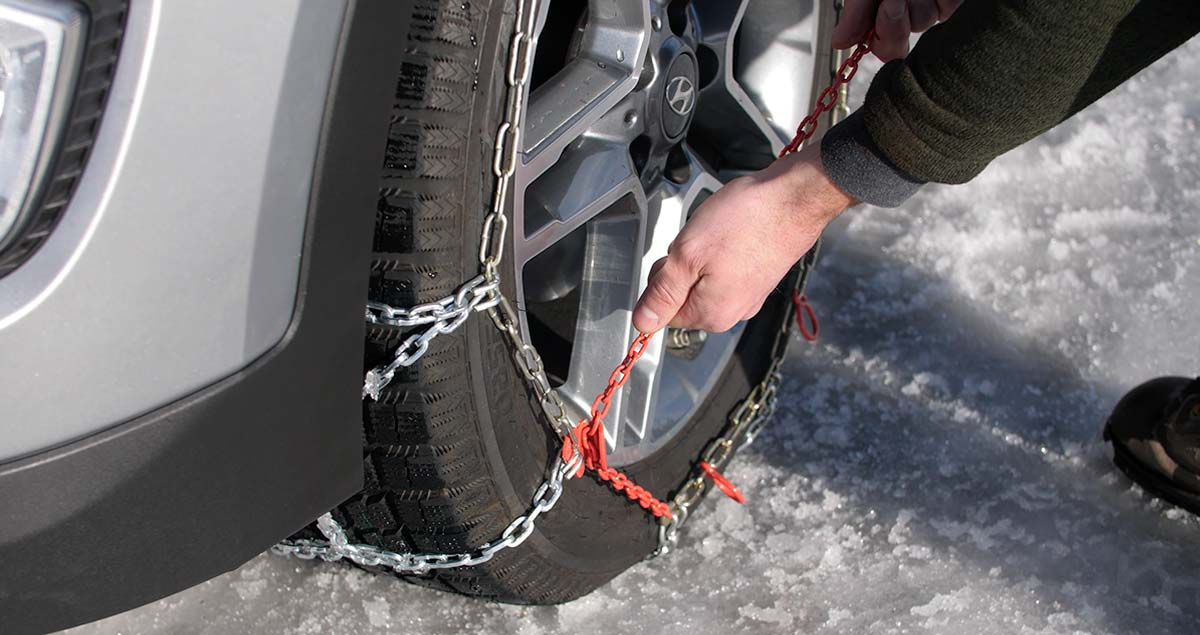
Place Chains onto Your Tire and Connect the Cable. Lay your chains on the ground and push them behind the tire, yellow cable end first, from the right side to the left.
Once the chains are centered behind the wheel, grab both ends and pull them up over the top of the tire. You should feel the chains against your axle.
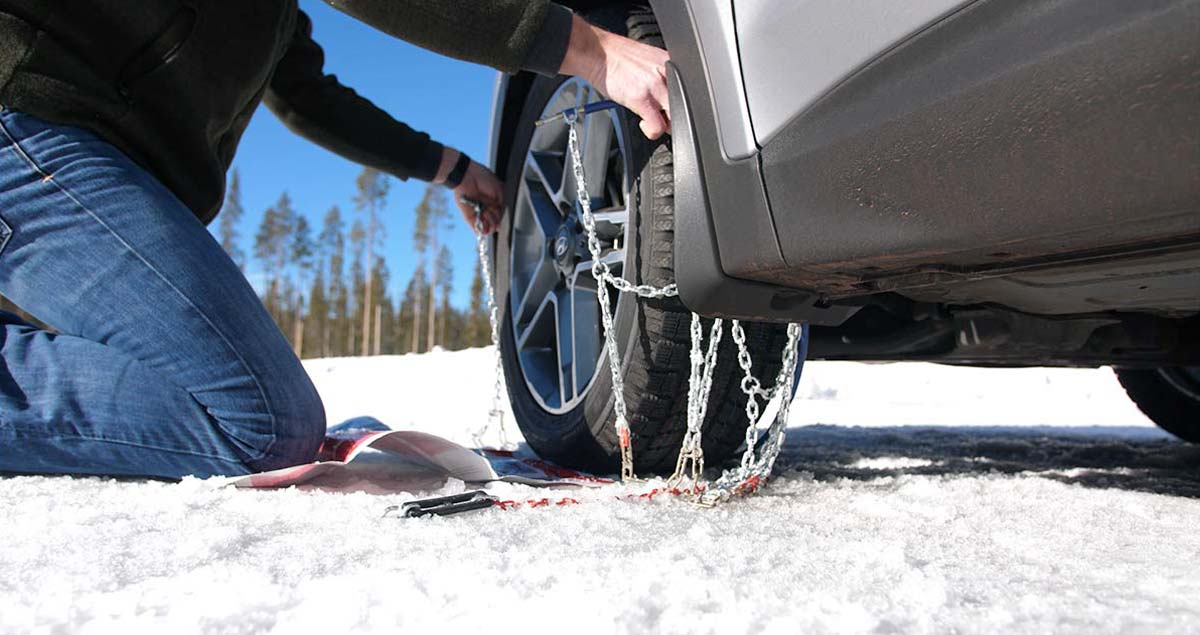
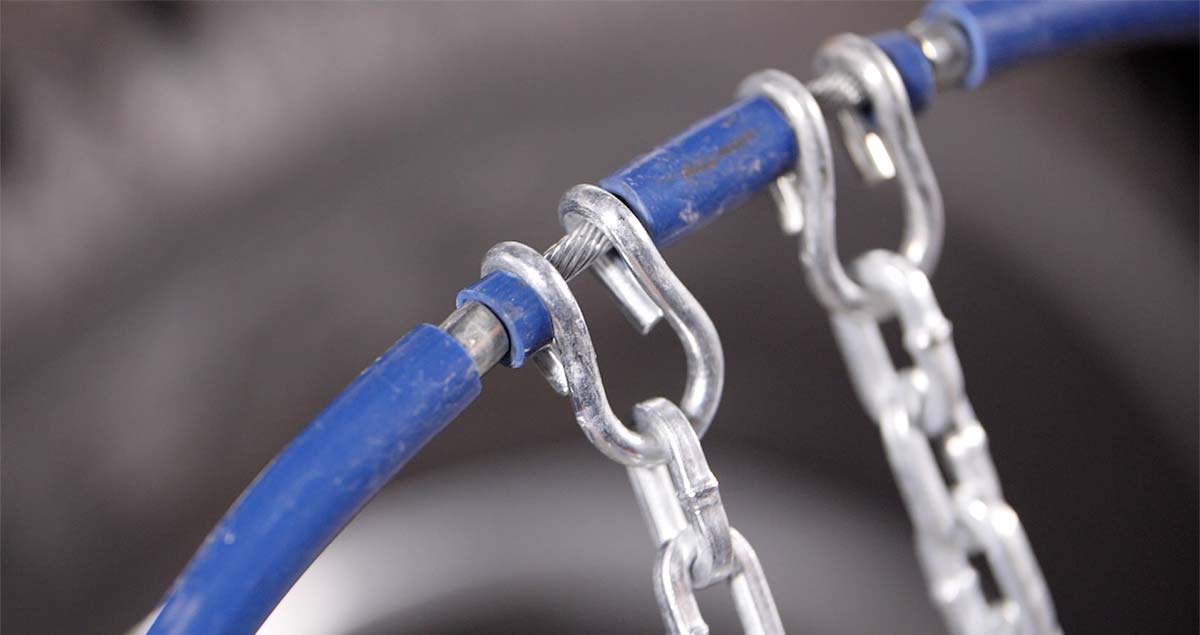
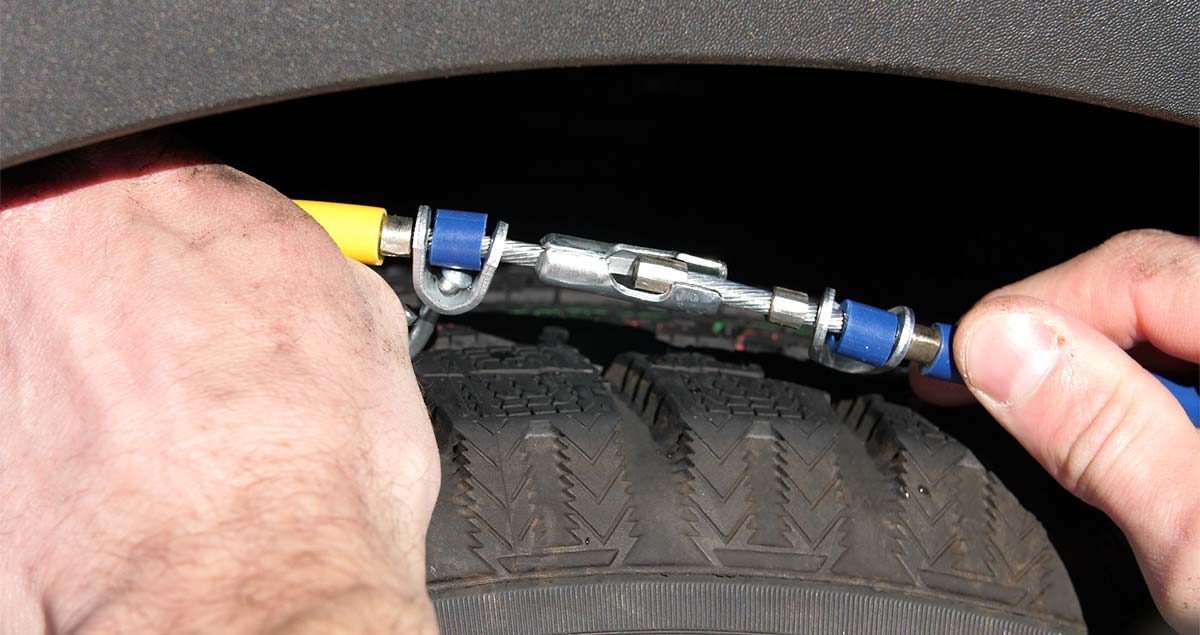
This will allow you to easily connect the yellow and blue ends of the cable by slipping one end into the other and pulling them into place.
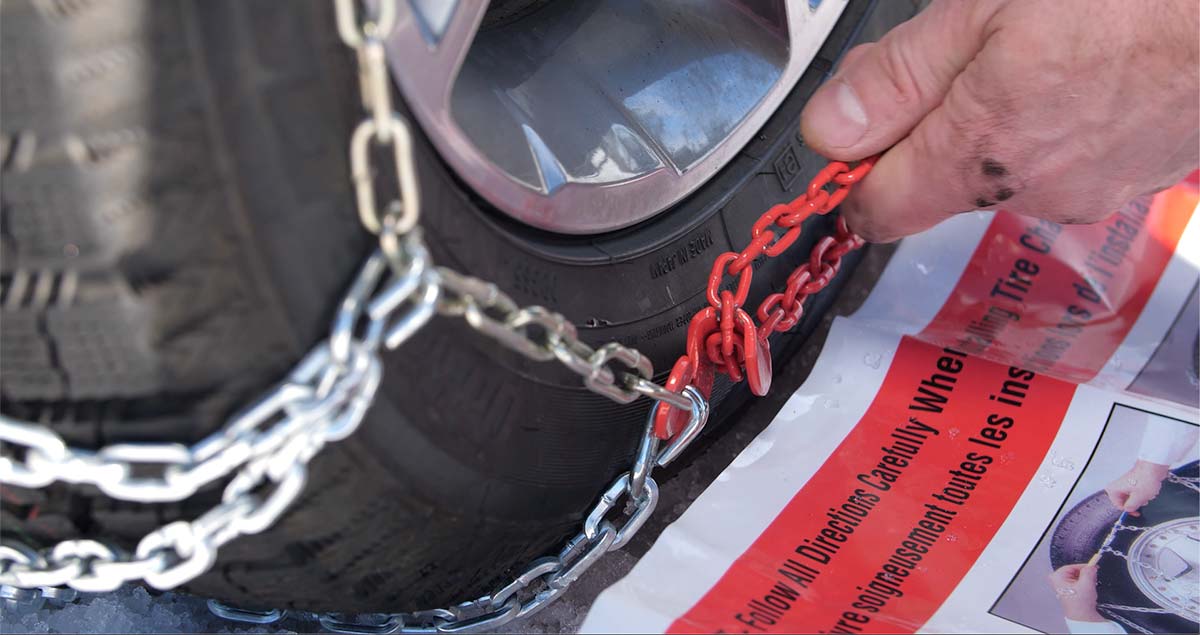
Connect the Red Hook. Now that the cable is connected on top, look for the red hook directly opposite the cable connection. Connect the red hook on the right to the first available gold link on the left.

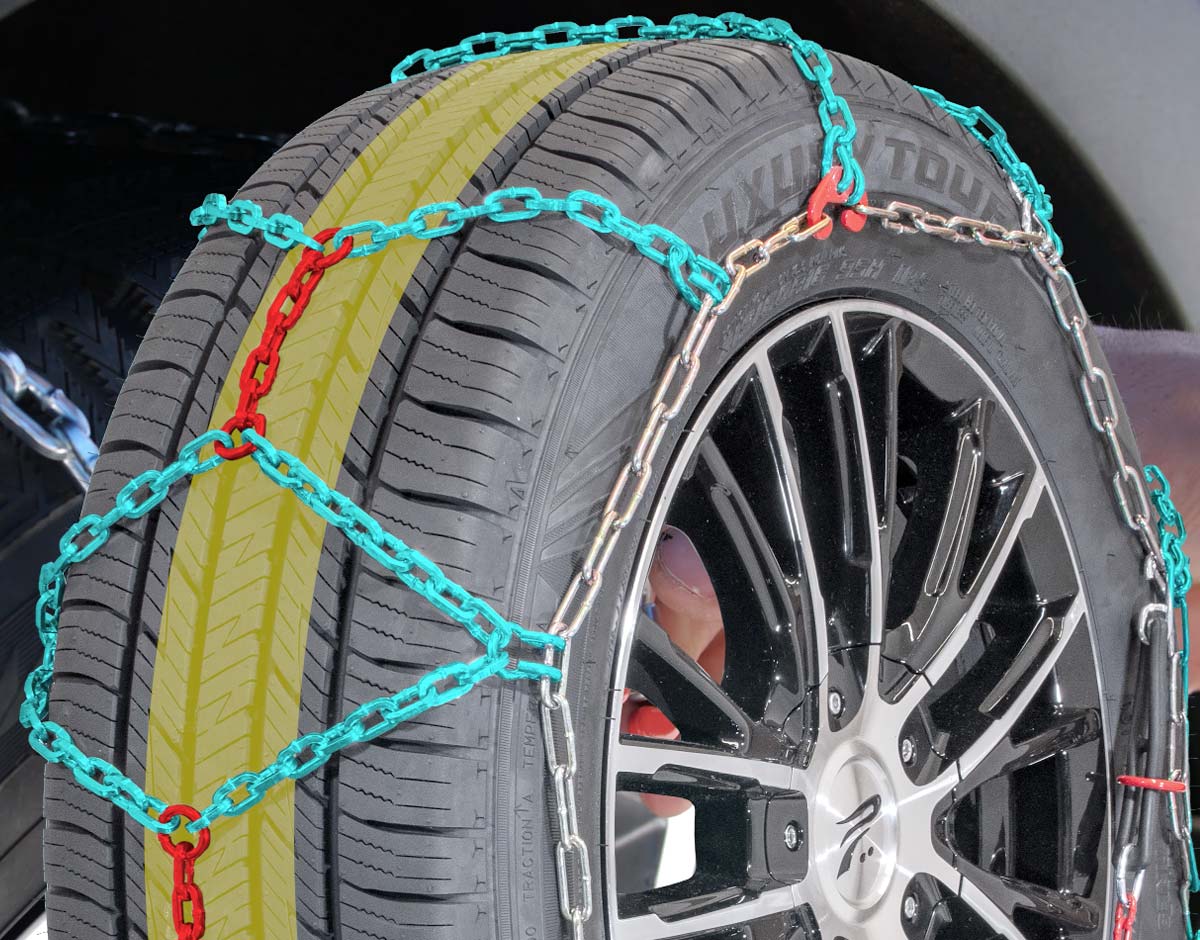
Check the Diamond Shape. Push the connected chain over the top of the tire. You should see the diamond shape in the chains against your tire. Between each of those diamonds is the center rail, which should be placed down the middle of the tire tread.
Connect the Red Chain Along the Bottom. Now that the cable is connected on top, look for the red hook directly opposite the cable connection. Connect the red hook on the right to the first available gold link on the left. Push the connected chain over the top of the tire.
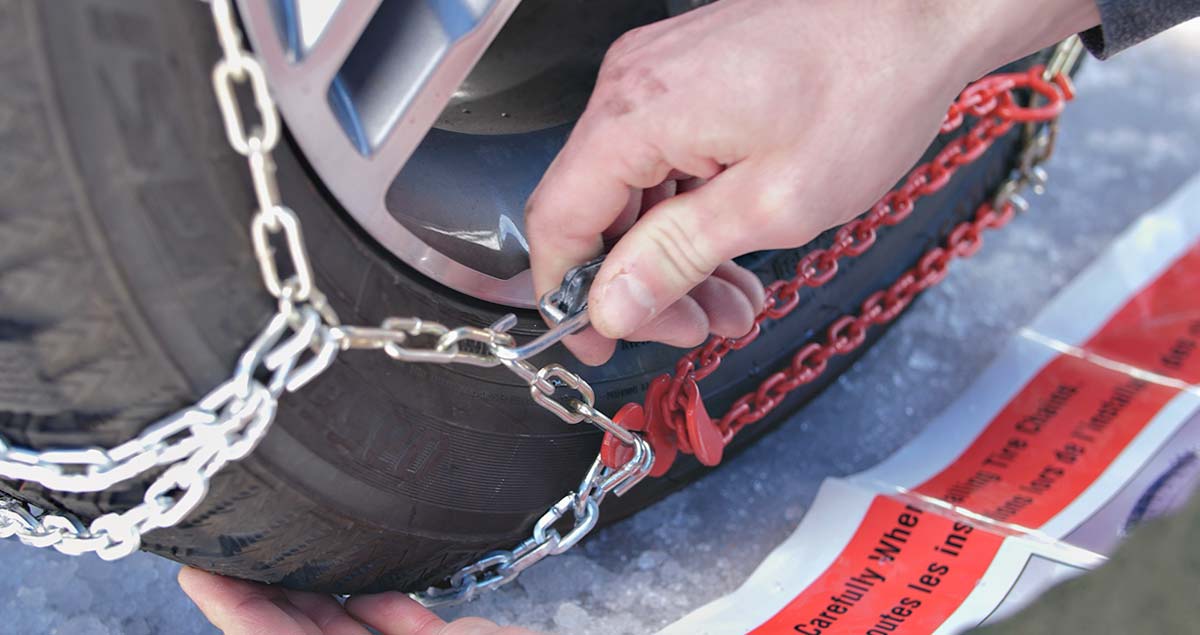
The bottom of the chains includes a red draw chain with bungee on your right, and a chain guide on the left. Pull these out towards yourself.
Take the long red chain and run it through the chain guide and pull as tight as you can with both hands. Don’t pull using the bungee. As you pull, one of the chain links will find its way into the notch on the red chain guide, locking it into place.
Using the bungee end of the red chain, pull it through one or both of the red loops and secure it to a gold-side chain opposite the red loops. If you can’t get it through both loops, that’s ok, pull tight through one and attach it to a side chain to the left of the loop.
Repeat on Second Tire. Repeat these steps to install chains on the other side of your vehicle.
Drive Forward Slightly. The next step is to drive forward about 15 feet, or a full car length. This gives the chains a chance to relax and settle on your tires.
Re-tighten Chains. To take up any slack, unhook the rubber end of the red draw chain and pull it tight again. Once it’s tight, guide the red chain through the loops and, again, securely latch the bungee end to the gold-side chain.
The chains should be tight on the tire. And, be sure to stop if you hear them making any contact with your vehicle. If your chains are still loose, unhook the bungee and adjust the red hook straight across from the chain guide. Unhook and reattach to the tightest position on one of the three gold chain links. It’s okay if the extra links are hanging loosely. Now, you’re ready to reattach your bungee.
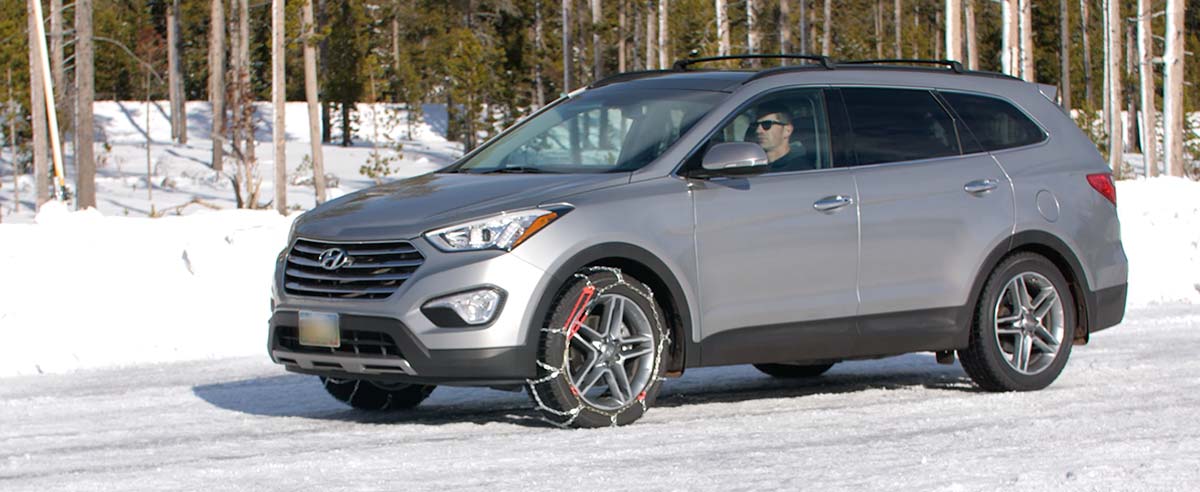
How to Drive with Snow Chains on Your Tires
While driving with tire chains, listen for a loud sound of slapping, or metal on metal. If you hear any indication that a chain may be broken or hitting your car, STOP as soon as safely possible. Loose or broken chains that flap can wrap around a strut or shock component, causing big damage to your vehicle. To help prevent damage, here are a few tips for driving when you have winter chains installed on your vehicle.
- Don’t go over 25 miles per hour, or else you can damage the chains or your vehicle
- Never drive on bare pavement
- Avoid locking or spinning your wheels by starting or braking suddenly
Removing Snow Chains from Your Tires
Pull over in a safe location and remove the chains. Start by unhooking the bungee and chain from the guide, removing them from the tensioner. Unlatch the red hook, and then undo the blue and yellow cable connection. Once all of your chains are off and lying flat on the ground, pull backward or forward slowly a few feet so you can safely pick them up.
How to Pack and Store Snow Chains
At the end of your trip, lay your chains out in the garage and let them dry. If you pack them wet, they can rust.
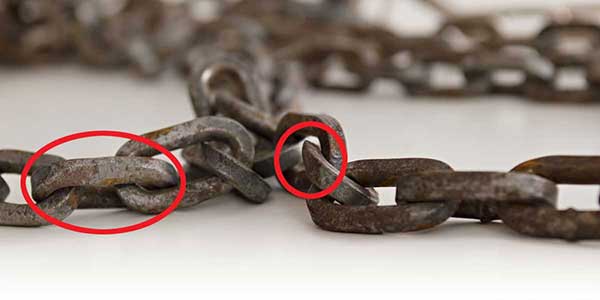
Also check them for wear, especially if you’ve driven them on asphalt for any distance. Look for flat spots, and replace the chains if you find some.
We’re Here to Help
Remember, if you don’t use your chains all winter long, you can return them with proof of purchase to any Les Schwab for a full refund in the spring.
Get your next set of Quick-Fit chains, along with a few tips on how to install them, at your local Les Schwab, where doing the right thing matters.
Want more tips on winter road safety? See 19 Winter Driving Resources You Can’t Do Without.
Get More Winter Tips

Les Schwab Tire Team
Published: December 20, 2022
Find more content from our expert tire team on YouTube.
What you need to know
Get a Grip on Winter Tire Chains
There are many types of traction devices for tires, but nothing beats chains for snow & ice. See which types are best for you.
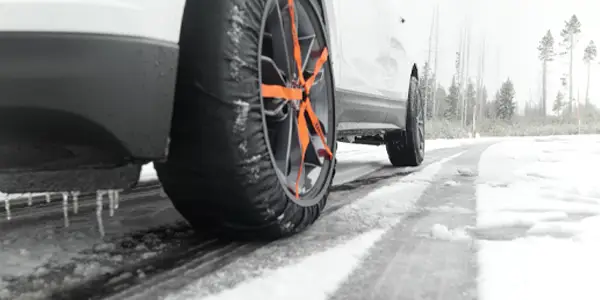
How To Install Tire Socks
Check out Les Schwab’s guide to installing tire socks, one of the newest and easiest-to-use winter driving technologies on the market
How to Choose the Right Tire Chains for Your Vehicle
Find the best snow tire chains for your vehicle with our guide on types, fit, and installation tips. Visit Les Schwab for expert traction advice.
