
-
What is Wheel Offset?
Customizing your ride with aftermarket wheels and tires is a fun way to make your car or truck your own. If you’re shopping around, it helps to have a basic understanding of wheel offset.
Proper offset assures your new package has enough clearance so nothing rubs against the suspension, brakes or vehicle body (like fenders, bumpers and mud flaps).
It’s also important for driving safety, since the wrong offset can reduce vehicle stability or interfere with braking.
Wheel Offset and Backspacing Explained
Offset refers to how your car’s or truck’s wheels and tires are mounted and sit in the wheel wells.
- Zero wheel offset is when the hub mounting surface is in line with the centerline of the wheel.
- Positive wheel offset is when the hub mounting surface is in front (more toward the street side) of the centerline of the wheel. Most wheels on front-wheel drive cars and newer rear-drive vehicles have positive offset.
- Negative offset is when the hub mounting surface is behind the wheel centerline. “Deep dish” wheels are typically a negative offset.

Backspacing is the distance your wheels and tires need to accommodate both offset and wheel width. It’s especially important to factor in when the new package you want is wider than what came on your vehicle.
Getting offset and backspacing measurements right means you’ll get a wheel and tire package that offers the looks, handling and performance you’re after.
Getting them wrong can mean big problems.
Common Problems From Too Much Positive Offset
- Expensive damage from the inner edge of the wheel and tire rubbing against the bodywork or suspension
- Interference with brake parts
- Risk of tire failure
- Poor handling
- Making your car unstable
Problems From Too Much Negative Offset
- Increased steering wheel kick-back
- Additional stress on the entire suspension
- Poor handling

Proper wheel offset example: +43mm offset, wheel size 19" x 8.5", 225/35R19 Toyo Proxes 4 Plus tires
Remember This About Wheel Offset
- New wheels and tires can make your everyday ride look and handle a whole lot better.
- Offset measurements can be tricky. Even if the tire and wheel have enough clearance, the wrong offset can decrease vehicle stability. Generally, with new wheels, you don’t want the new offset to be more than 5 millimeters different from the old offset.
- Especially when your new wheels are wider than the originals, backspacing has to be factored in along with offset.
- To make sure your tire and wheel package fit right, stay within load capacity and give you the handling and stability you need, ask a tire professional for advice.
Want to see some options that will fit your vehicle? Browse wheels suited for your make and model.
Important Notice: The information provided above is of a general nature gathered from a variety of resources deemed reasonably reliable. The operation of your vehicle, or the repair or replacement of your vehicle’s equipment, may be different than for a typical vehicle. Please consult your owner's manual for specific warnings, notices, and other advice relative to the subjects addressed herein.
Learn More -
What’s the Difference Between Aluminum and Steel Wheels?
Wheels and rims are made with several types of alloys, or blends of metals, with different handling characteristics, maintenance needs and upsides. Here’s a short guide to the two main types of automotive wheel materials and how they differ, for those shopping for aftermarket wheels.
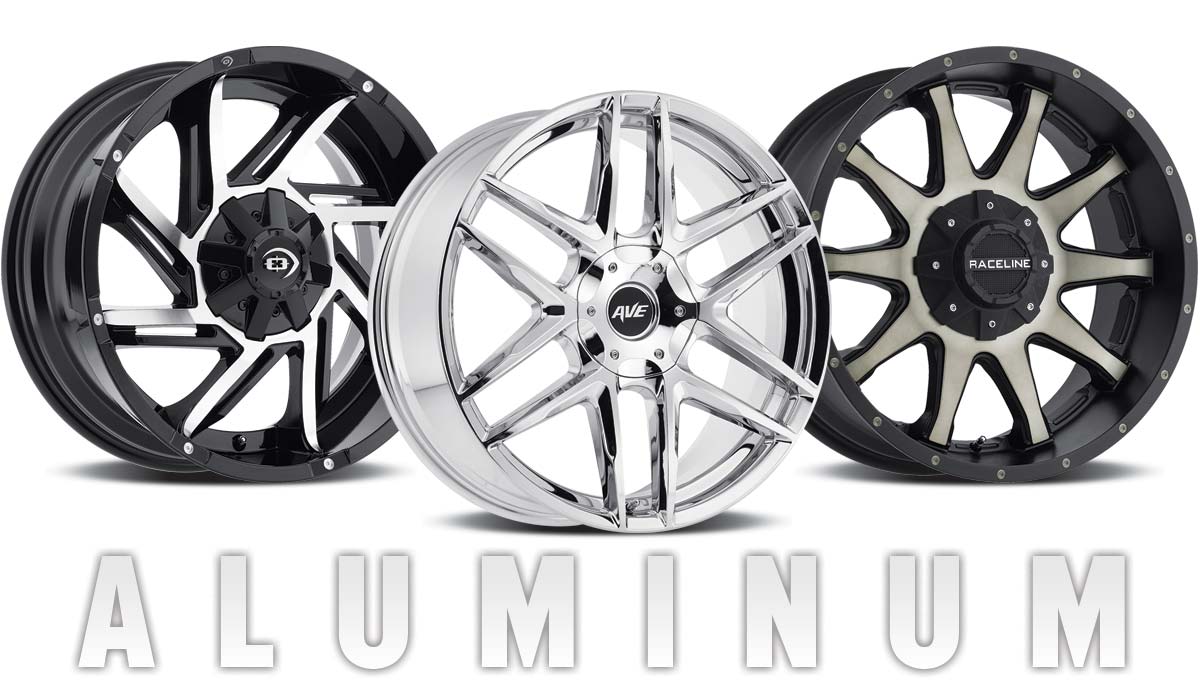
Aluminum Alloy Wheels
Aluminum wheels (sometimes called alloy wheels) are built with a blend of aluminum and nickel. The majority of wheels today are cast aluminum alloy, meaning they’re made by pouring molten aluminum into a mold. They are lightweight but strong, withstand heat well and are generally more attractive than steel wheels. They come in a very wide variety of finishes and sizes. Aluminum wheels are a good choice for a balance of performance, cost, aesthetics, and gas mileage.
Steel Wheels
Steel wheels are made with an alloy of iron and carbon. They are heavier but they’re more durable and can be easier to repair and refinish. Because of the way they’re made — cut out on a press and welded together — they don’t offer all the aesthetic spoke choices of other wheel types.
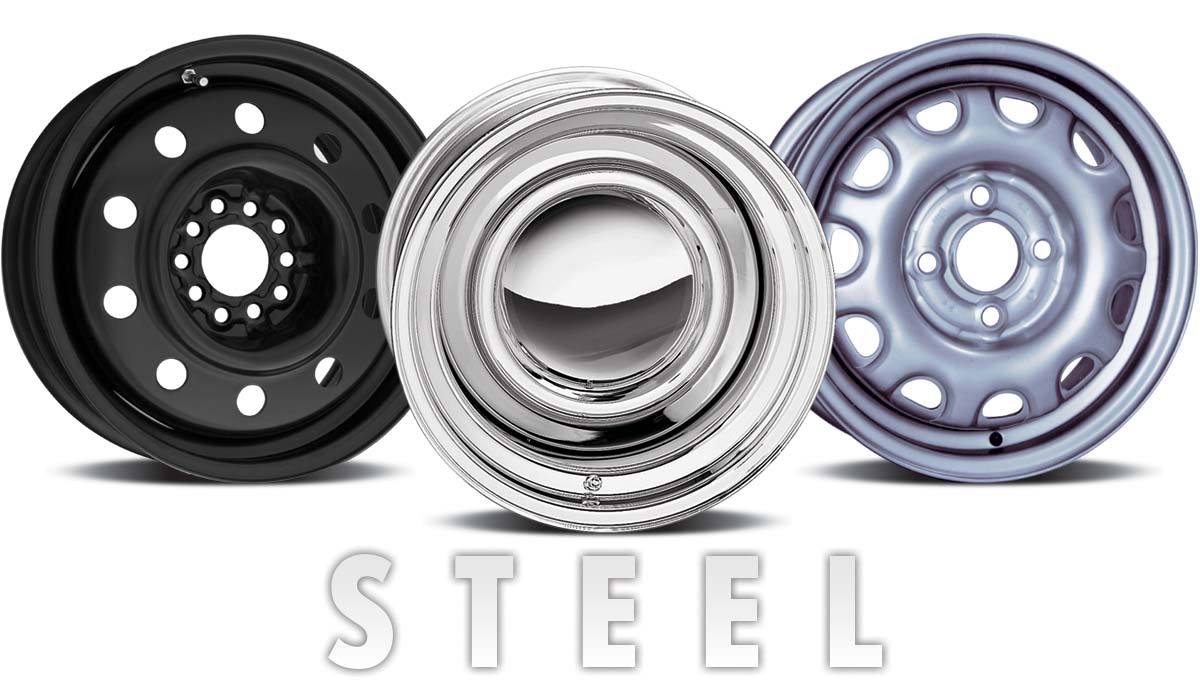
Though their heavier weight may dampen acceleration, agility and fuel efficiency, steel wheels can offer more resistance to impact cracks. They can also be more resistant to damage from deicers, gravel and brake dust, making them more popular for winter driving. Steel wheels are generally less expensive than aluminum wheels.
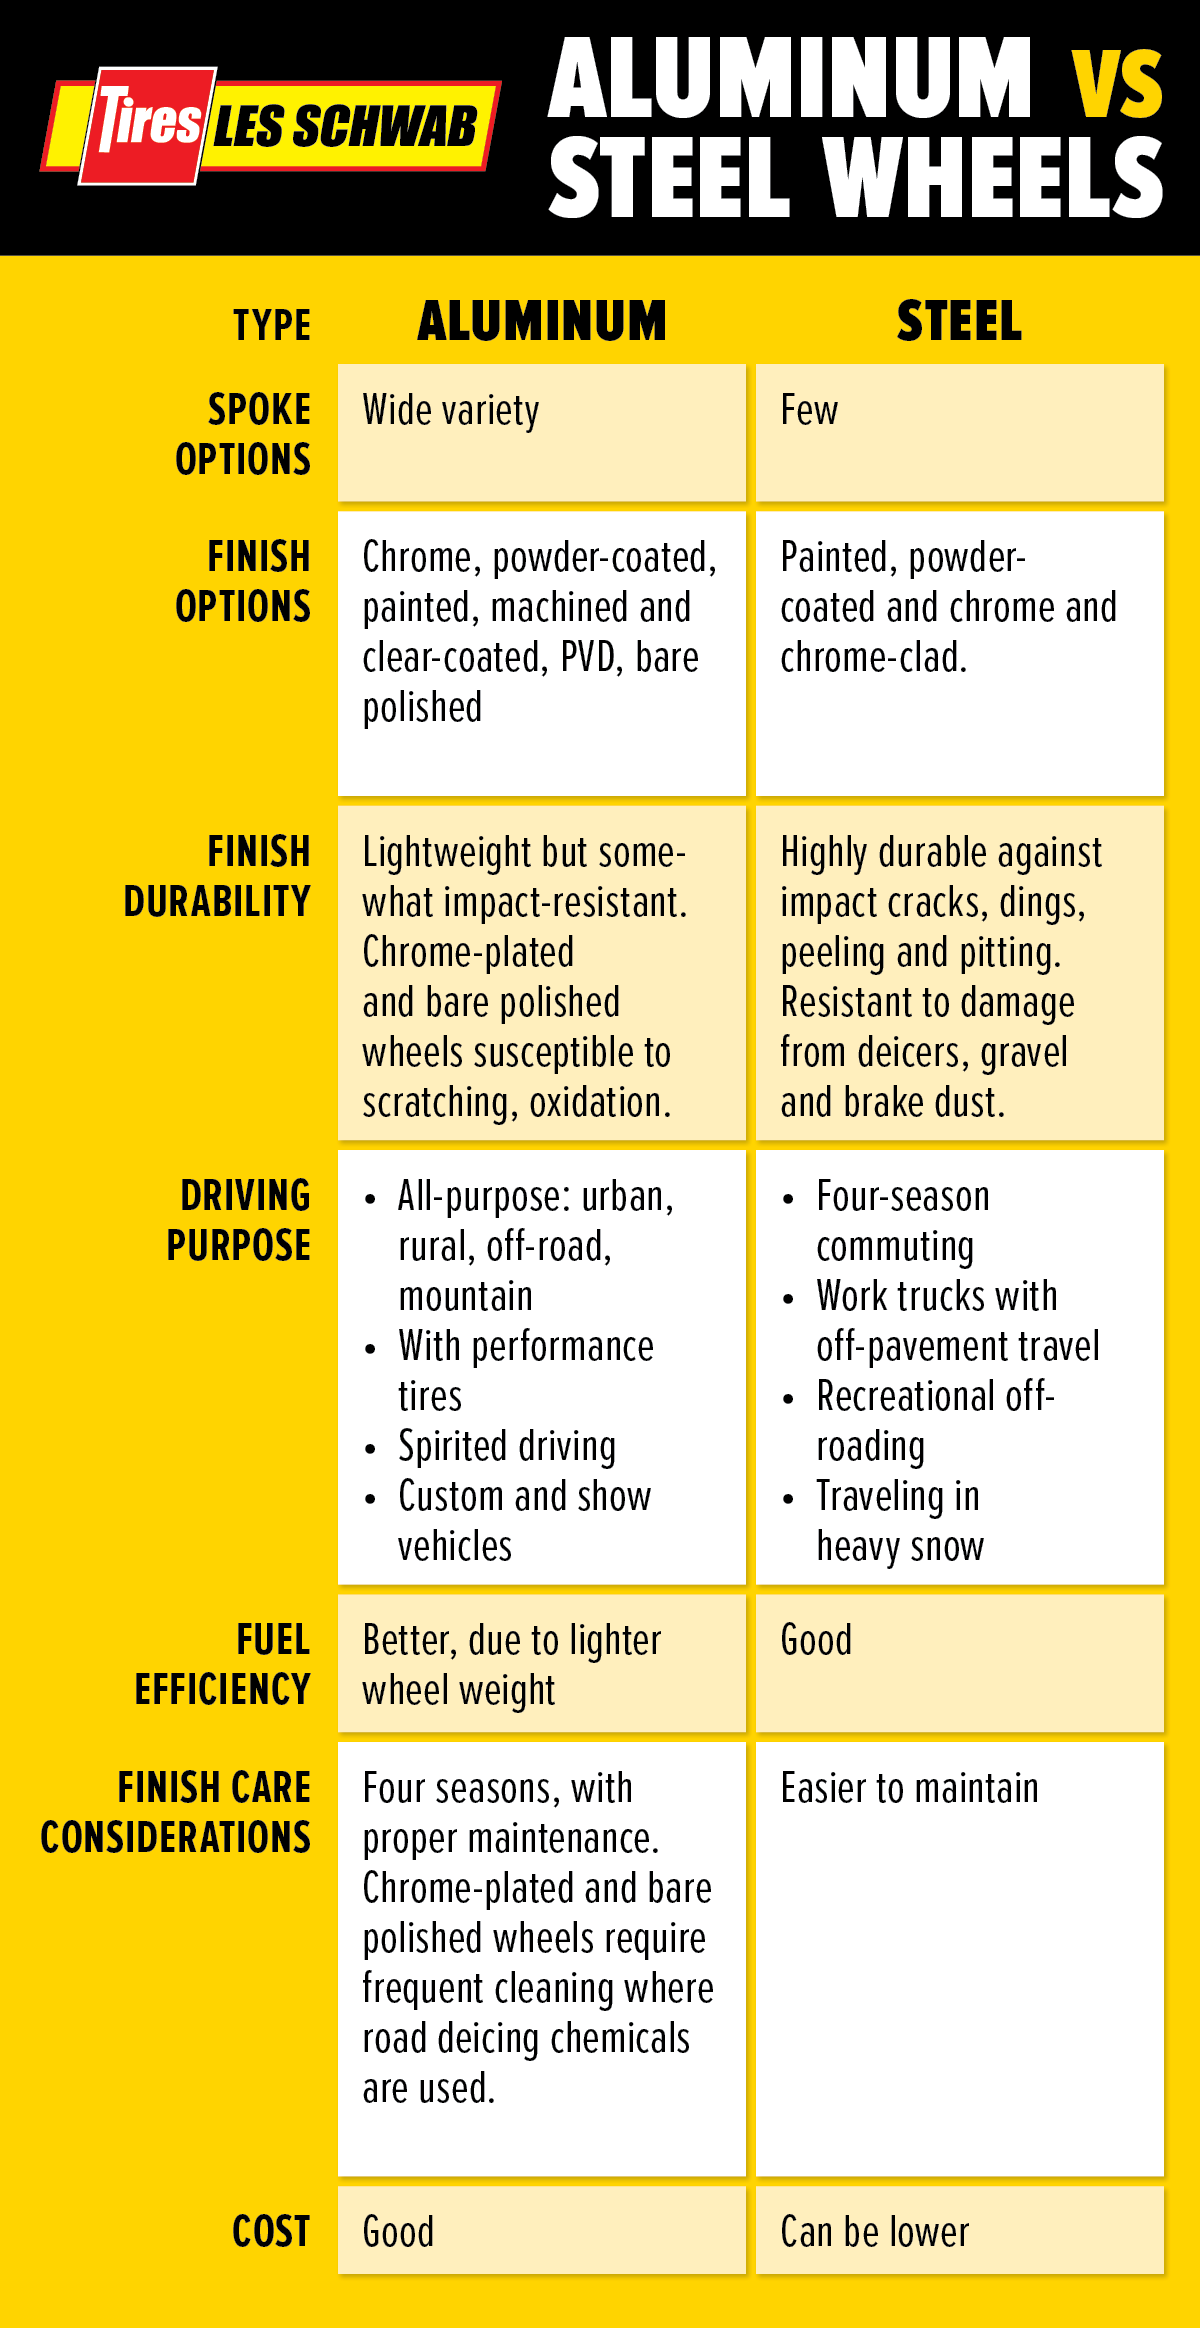
Here’s a breakdown comparing the characteristics of the two wheel material choices.
Wheel material is only one factor of many in selecting custom wheels and rims. Learn about wheel finishes and other tips on shopping for wheels in our Learning Center.
Or just stop by any Les Schwab to talk to an expert.
-
How to De-Winterize Your RV
Time for camping and summer road trips? While your owner’s manual likely has a list of items specific to your vehicle that should be checked, here’s a checklist of 22 things you should be certain to take care of before your first ramble in your motorhome. The advice will apply to travel trailers, too.
Inspect the Outside
- Check beneath the vehicle for signs of leaking fluids. If you see any stains or puddles, you should take it in for service.
- Look carefully at the tires. When a vehicle is parked for long stretches, tire condition can degrade. Tires can be damaged by sun exposure, weather and pollution. Sitting in one place for too long can also cause a flattened spot to develop on the portion of the tires that has been supporting all the vehicle’s weight. If there’s any cracking or bulging, a tire may need to be replaced. Also, top off the air pressure and test to make sure the lug nuts are secure.
- Even if the tires appear in good condition, repack wheel bearings with grease. It’s important for safety, since the vehicle’s weight rides on the wheel bearings. Do it yourself or come to us.
- Make sure headlights, tail lights, high beams and blinkers are working.
- Clear the exhaust pipe if you blocked it to keep out mice.
- Look over the full exterior, including the roof. You’re looking for peeling paint, cracks and gaps at seams, or rust, all of which will need repair. Don’t forget to check the A/C air filter in case it needs to be cleaned or replaced.
- Roll out and clean your awning, and check them for holes. Don’t wait to repair them; they’ll expand and become a bigger problem if you delay.
Under the Hood
- Tend to the batteries. (Les Schwab Tires does free battery charges and checks.) If your motor home was stored someplace warm, look for corrosion around the battery connections. Clean it off carefully. If your battery fluid is low, get it topped off. If you live someplace that freezes a lot in winter, you probably removed the batteries before storage. Reconnect them, making sure clamps are snug and there's no corrosion.
- Check for rodent damage, cracks and loose hose and wiring connections.
- Check the oil. Moisture can get into the fuel system in cold weather, so consider changing the oil and filter even if you’re not due.
Prepare the Plumbing System
- If you used RV antifreeze to protect the water system from freezing, drain it from everything, including the water heater and holding tanks. (Dispose of it properly to protect fish and waterways.)
- Flush the plumbing thoroughly with clean water: Fill up the fresh water holding tank, turn the water pump on and run all faucets. Make sure water cycles through everything, including the washer, icemaker, outdoor shower and water heater (if it wasn’t bypassed when you added the antifreeze). When you see clear water running through the system, turn off the pump and shut off the faucets.
- Now sanitize the plumbing. Chlorine-free water system cleansers are available, or you can use one-quarter cup household bleach per 15 gallons of water. Close all drains and put drain plugs in place, pour the cleaner into the fresh water tank and fill with water. Turn on the water pump and run water through all hot and cold faucets until you detect the cleanser, then turn off the faucets and pump. Let it sit for 12 hours before draining and refilling with clean water. Repeat until any remaining cleanser is flushed. Make sure to cycle through all tanks.
- Reinstall any water filters that were removed for winter storage.
- Go to a waste disposal site to empty the dirty water you’ve flushed through the system from your gray and black water holding tanks.
Check the Living Quarters
- Once the water system is clean and the water heater is full, check the electrical systems. As your house batteries recharge, you can make sure the fridge is cooling, flip lights on, plug in the toaster, microwave, and coffeemaker, run fans and check power outlets. If something’s not working, try resetting your breaker switches.
- Run the slides out, listening for any cracking or popping sounds. If so, your seals or the slide mechanism may need lubrication or hydraulic fluid may need to be topped off. Also, make sure slides look centered. If not, they may need to be adjusted.
- Open the main propane gas valve, then check to make sure gas appliances are working, including all stove burners. (Also, get a leak test and gas operating pressure test done annually.) Check the water heater, upping the thermostat until the furnace turns on. Try running the refrigerator on gas to make sure it will keep working when you’re underway.
- Inspect the cabin for any signs of mold, rodents, and insects. You may have to wash bedding, cushions or window treatments if there’s been a strong odor trapped inside. If there’s been a pest invasion, find areas they may have gotten in and cover them.
- Verify your safety systems and kits are in working order: smoke and carbon monoxide detectors, flashlights, fire extinguisher, emergency road kit and first aid kit. Replace batteries as needed.
Check Fuel & Brakes
- Start the engine. If you filled up and added stabilizer before storage, you’re probably good to go. Fuel stabilizer can keep fuel fresh for around two years. But if you didn’t, or the vehicle sat for more than a year, it may not want to start. Try adding starter additive to the stale fuel.
- While parked, tap your brakes, making sure you feel the right amount of pressure and the pedal doesn’t sink to the floorboard. If anything seems amiss, have brake pads and shocks examined.
Now you’re ready to hit the road and make some summer memories.
Learn More
Opens warranty information dialog with language options